


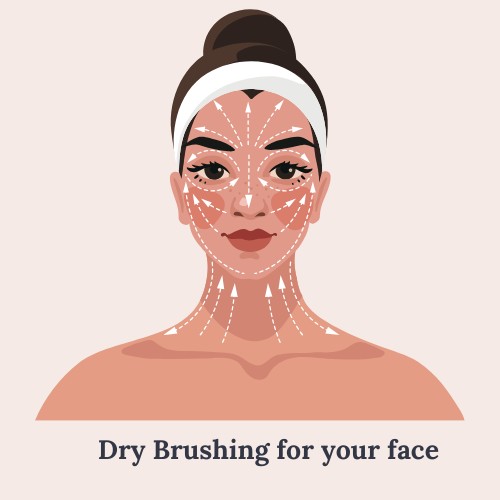
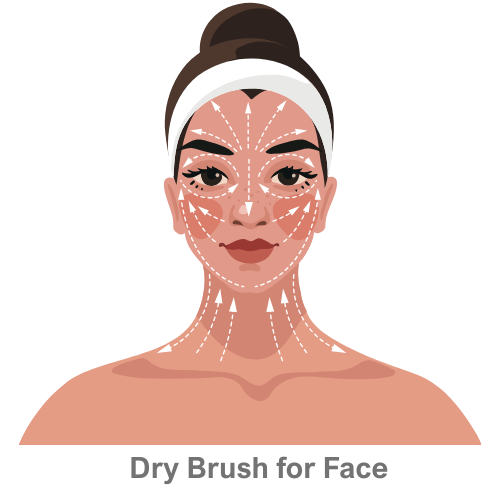
Lymphatic brushing for face (or body) works on both beauty (a less puffy face or body) and a better lymphatic system (which builds immunity)
Here is how to do it!
Start with a clean face, with no makeup. (After a water based serum, if absorbed, will be ok)
First: circle strokes for the lymphatic drains on your clavicle, neck and ears... See video below
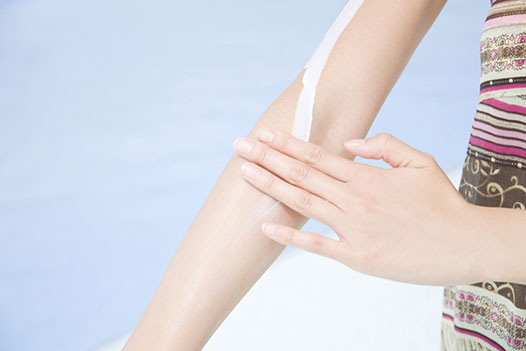
Second: brush gently in the direction of the arrows with the lymph brush
Finish: with circle strokes on the lymphatic drains again.
You can do body brushing as well using the same brush. You would want to stimulate the body drains and then follow up with the body brushing.
While there are many brushes out there that work well- I really like this brush by Cecily Brandon.
There is a larger body brush option as well as other video links on how to use it.
A cheaper alternative is here on Amazon. (NOTE: its a knockoff. It is EXACTLY the same and a fraction of the price.)
Even using this brush on a clean face requires occasional cleaning of it. Here is a video of how to clean it....
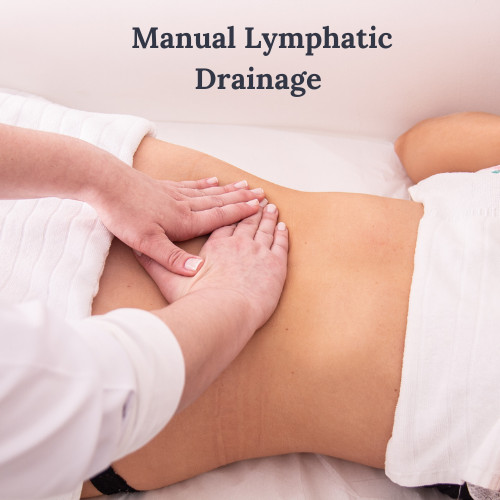
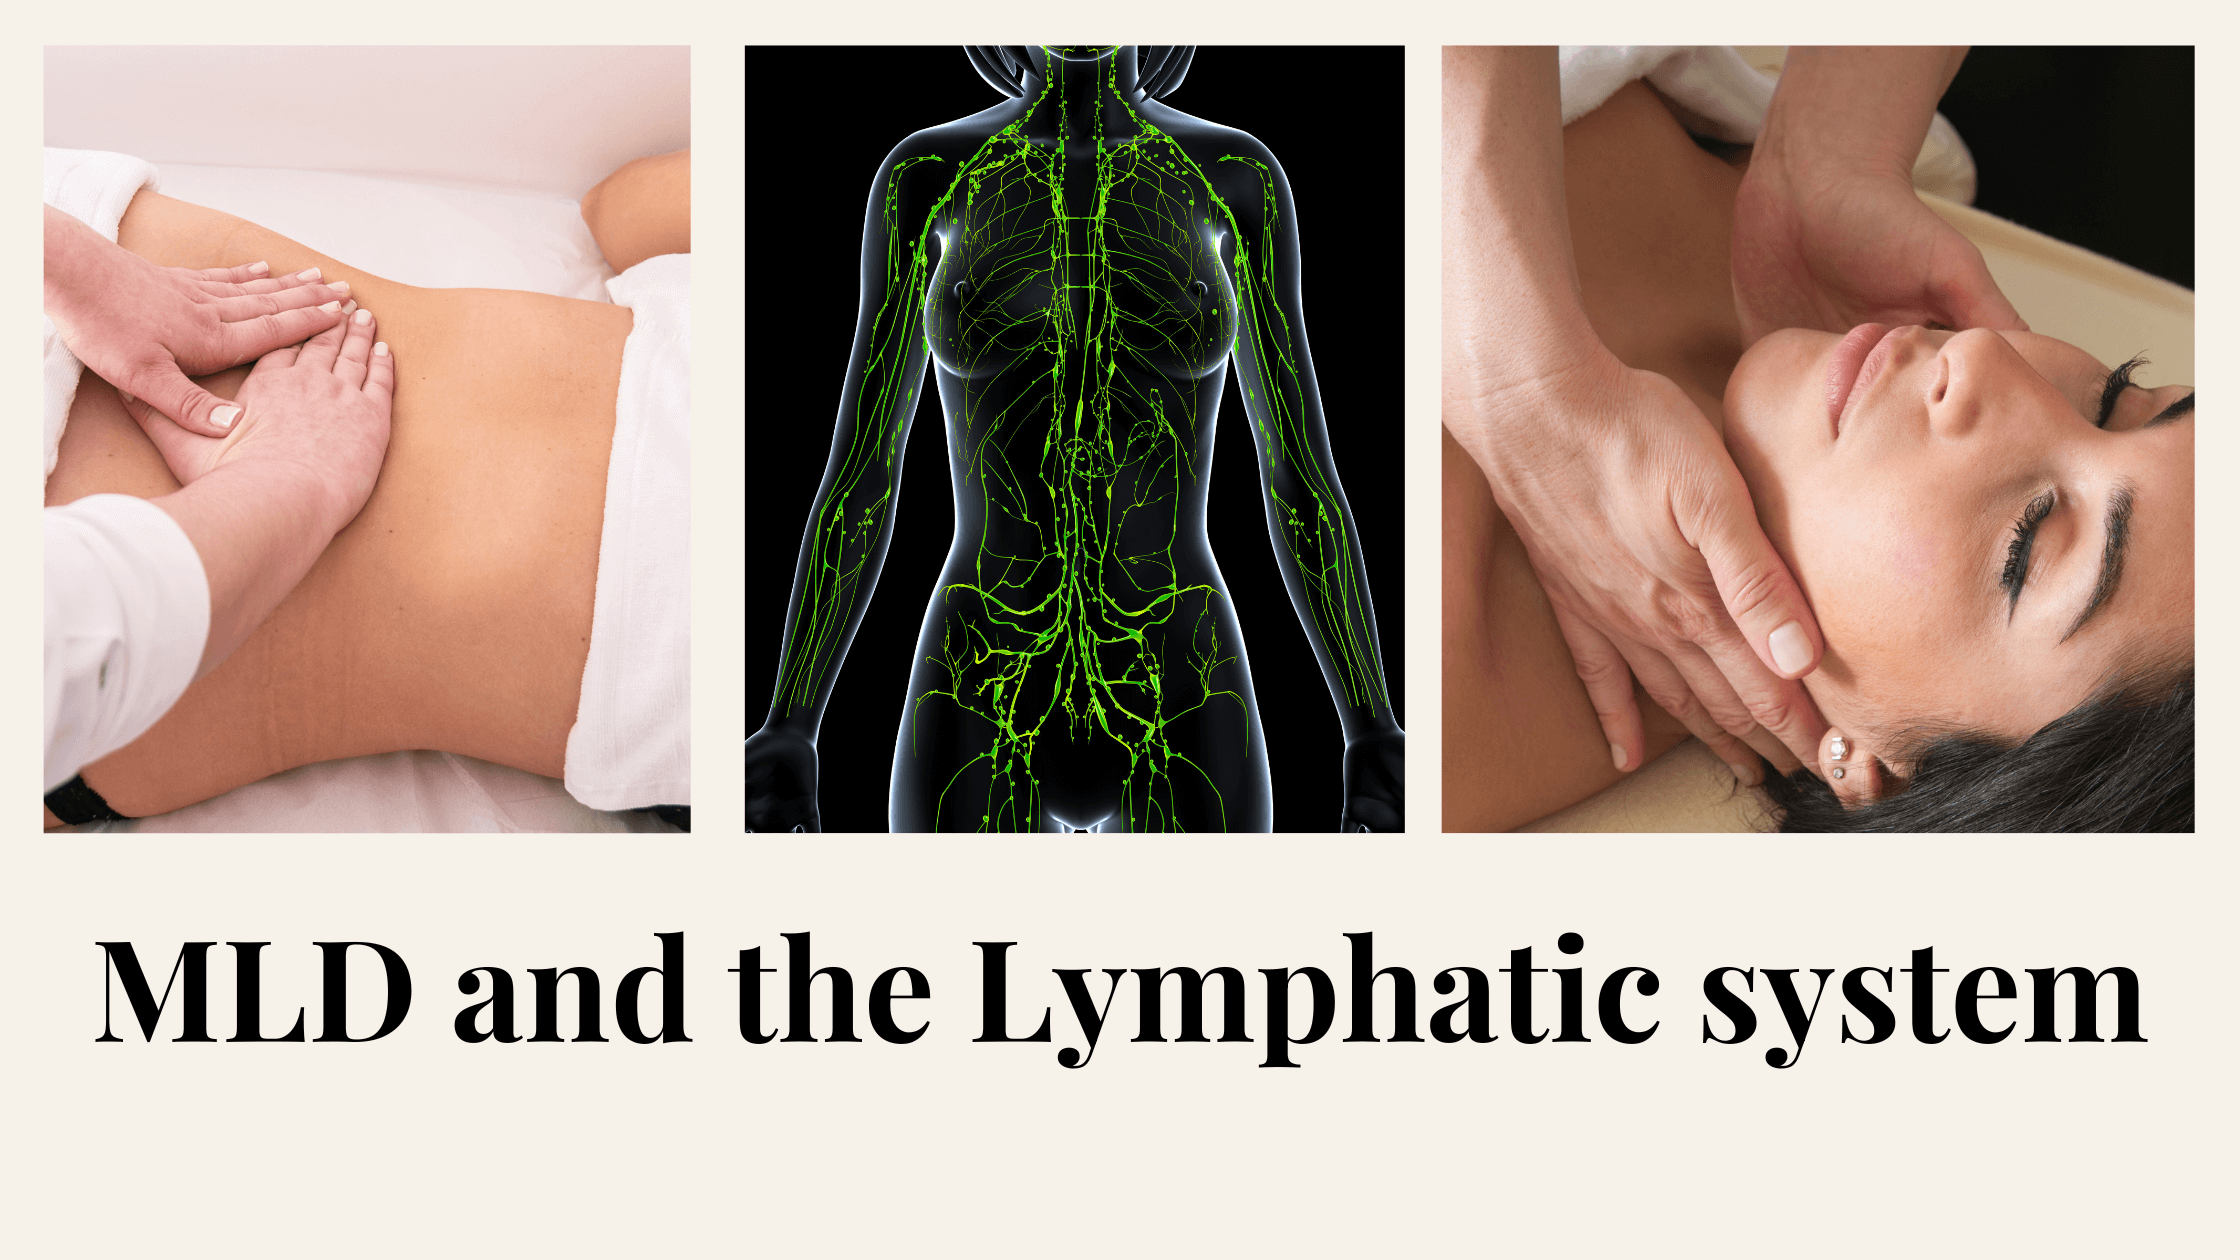
Manual Lymphatic Drainage (gently skin stretching to benefit the lymphatic system) can also be done to improve wellness, and this is where my type of work comes in. It will improve your overall health, but it MAY help improve conditions like fibromyalgia, chronic lymes, rheumatoid arthritis, or improve brain lymph clearing in concussions, Alzhimers and Parkinsons. MLD benefits STABLE conditions of the central nervous system, not acute infections, acute heart conditions, not kidney disease.
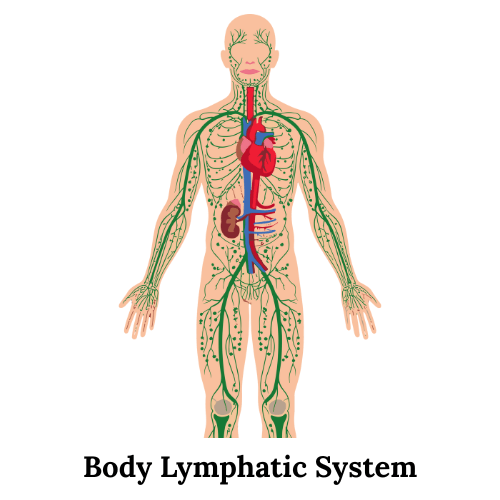
The Lymphatic System (often called your second circulatory system) is the filtering system for toxins in your body. Its twice the size of the circulatory system- but it has no pump like the heart is for the circulatory system. Instead, the lymphatic system depends on muscle contraction, pulsing of arteries, breathing (which moves the abdomen) and gravity etc to move the lymph around. The natural rhythm of the lymphatic system is 6 per minutes. After MLD, the RATE increases dramatically for about 24 hours, increasing the ability to filter toxins efficiently.