
🌿 Seed oils: friend or foe? The answer isn’t as simple as yes or no.
They’ve been making headlines—and causing some confusion—so let’s break it down. From heart health to inflammation, from how they’re processed to how they’re used, this blog explores the nuance behind oils like sunflower, canola, and grapeseed.
If you’re wondering whether to avoid them entirely or just rethink how you’re using them, this post offers a gentle, balanced look at the facts—without the fear.
🔍 Read on to learn why balance matters more than blame.
Read more...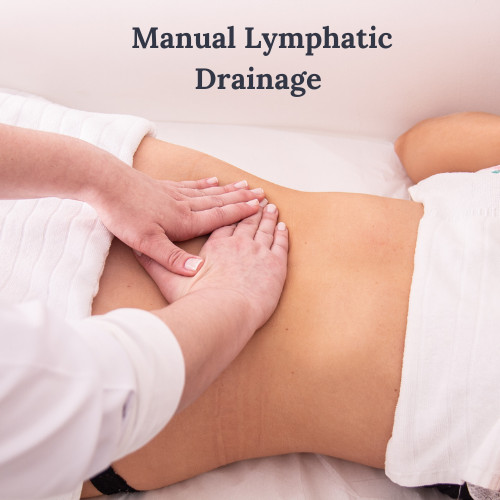
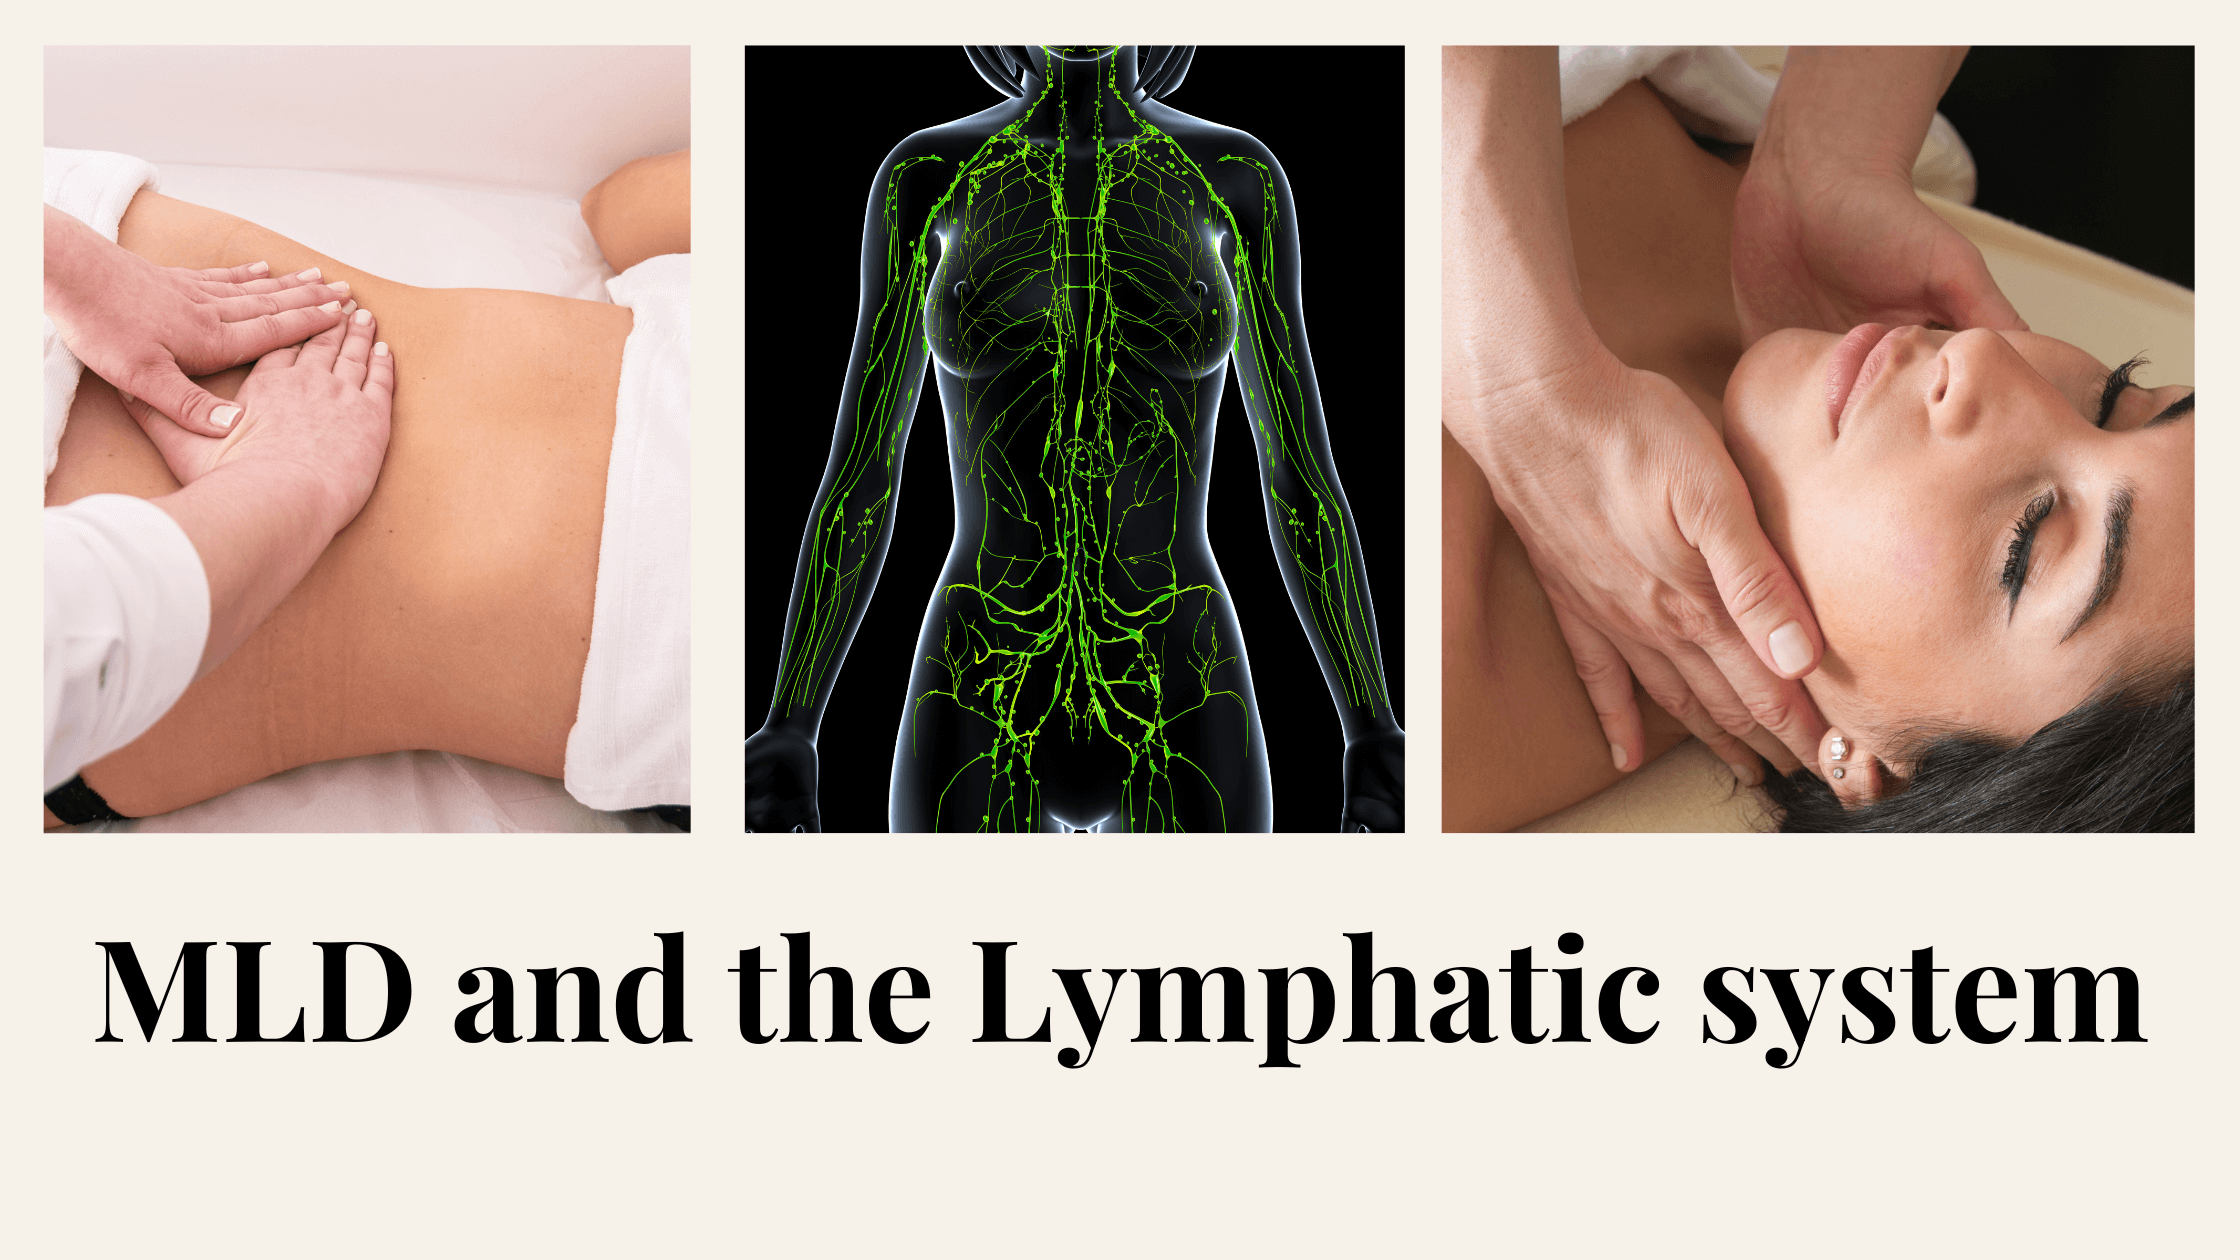
Manual Lymphatic Drainage (gently skin stretching to benefit the lymphatic system) can also be done to improve wellness, and this is where my type of work comes in. It will improve your overall health, but it MAY help improve conditions like fibromyalgia, chronic lymes, rheumatoid arthritis, or improve brain lymph clearing in concussions, Alzhimers and Parkinsons. MLD benefits STABLE conditions of the central nervous system, not acute infections, acute heart conditions, not kidney disease.
The Lymphatic System (often called your second circulatory system) is the filtering system for toxins in your body. Its twice the size of the circulatory system- but it has no pump like the heart is for the circulatory system. Instead, the lymphatic system depends on muscle contraction, pulsing of arteries, breathing (which moves the abdomen) and gravity etc to move the lymph around. The natural rhythm of the lymphatic system is 6 per minutes. After MLD, the RATE increases dramatically for about 24 hours, increasing the ability to filter toxins efficiently.
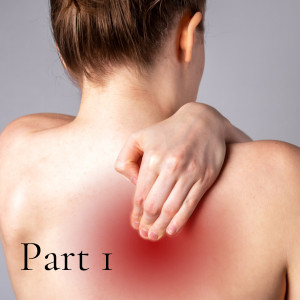
The Simple Solution I write about today is the second most common set of E-cises (postural exercises) I give to my clients. These are solutions to Rotations in our pelvis and shoulders.
We have these rotations because we move in patterns, do activities in one way,, have repetitions that are similar to each other and similar in what we do, day in and day out WITHOUT putting our bodies back in neutral.
How this looks in our bodies if we have rotations?
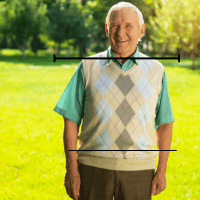
We might have one shoulder in front of the other, or one hip bone. This may make us look unlevel.
We might look down and see our feet with one forward of the other, sometimes also pointed out more.
A lot of people aren’t aware of their rotations unless we irritated our back or between our shoulder blades. When we start to do the exercises to normalize the rotations, we might find our brain has a hard time making the moves against the way we rotate. For example-I am dominant right handed and in work, I rotate much more to the LEFT. If I isolate my movement to the right, I have to stop and think about it.
How do we address it?
We introduce movement in both directions, (notice what is easy and what is not)
In this case: These E-cises are FOR HEALTHY BACKs that tolerate twisting. Do not work through pain.
Upper Spinal Floor Twist: addresses Thoracic rotation and hip stability
Hip Crossover Stretch: addressers External hip stretch, and stretch into back
Then we always neutralize with hooklying glute squeezes.
Give them a try and let me know what you think!
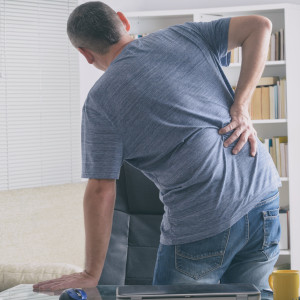
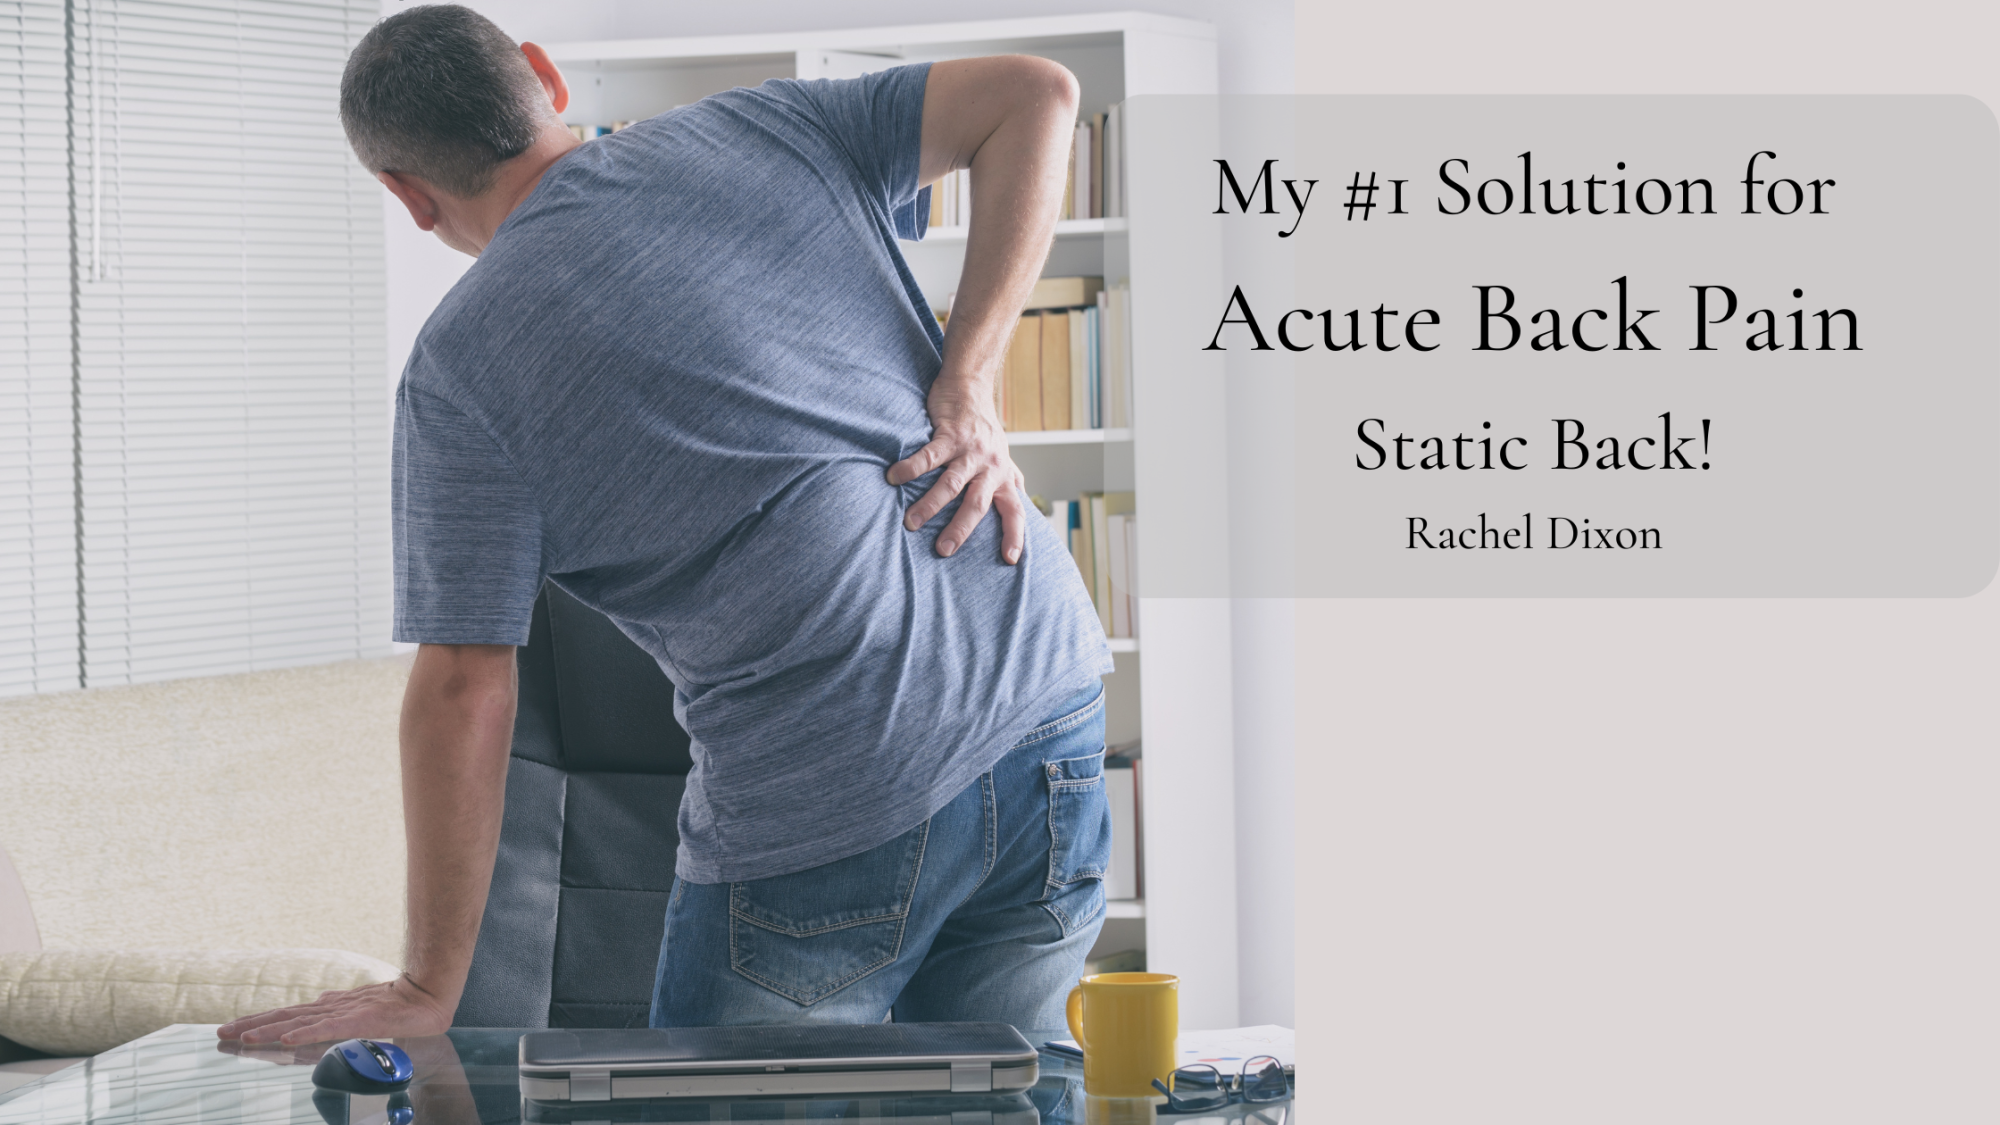
Egoscue Static Back
The Egoscue Static back is my favorite go-to passive exercise to stack the body right and reduce back discomfort,. While being passive (you just get into position and lie there), the force of gravity against the relatively hard ground allows your body to work a lot, reducing rotation at both the pelvis and shoulder.
This E-cise is for you if:
- You have a sore back or disk injury
- You have a forward slumped posture
- You have a pelvis or shoulder disparity (different from the other side)
- You want to relax and improve your posture at the end of the day
- Lie on your back with your legs up over your inflatable large block or up over a chair/couch.
- Your arms are at 45 degrees and your palms up.Try to relax your upper back and notice if your low back is flat evenly from left to right.HOLD – and work on diaphragmatic breathing
Diaphragmatic Breathing (especially while in an aligned state) will help to create better thoracic stability AND lessen your stress levels. It’s not always easy to just “be less stressed”. This is an activity you can do to help with that. LOIS Breathing.
- Your arms are at 45 degrees and your palms up.Try to relax your upper back and notice if your low back is flat evenly from left to right.HOLD – and work on diaphragmatic breathing
Here is how to do ideal diaphragmatic breathing.
- Place one hand on your belly and one on your clavicle. Your lower belly hand should be the one moving, but you should also be breathing out to the sides of your ribs and into the back. You will not just rise up into your collar bone or neck.
- Breathe in and out, silently, through your nose
- Make your exhale longer than your inhale. *important as this is how to be in that less stressed state. You can also HUM on the exhale.
- Tongue on roof of mouth, teeth apart, lips together, eyes level, neck and shoulder at rest.
Additional Egoscue E-cises for Back Discomfort…
- Lie on your back with one leg up over your inflatable large block or chair
- Your other leg is straight out on the floor with it propped up from the side
- Your arms should be at 45degree with palms up. RELAX your upper body and notice that your low back should begin to get flatter to the floor the longer you are in this position.
- HOLD and relax, then repeat on the other leg
Air Bench - Stand with your back against a wall with feet and knees hip width apart and feet pointed straight.
- Walk your feet away from the wall while sliding your body down. Get in a “seated” invisible chair, with your hips higher than knees, knee not further than ankles, and your low back pressed into the wall.
- Hold for one minute or as comfortable.
For more information on Egoscue postural alignment (done online right at home) please contact me at rachel@theartofbeingwell.com

In the last blog post- I wrote about an e-cise routine that used my favorite postural exercise- the Static Back- to help reduce tight rounded shoulders with winged scapulas. While passive exercises can be very effective (why not use gravity to your favor?) ACTIVE e-cises are also excellent.
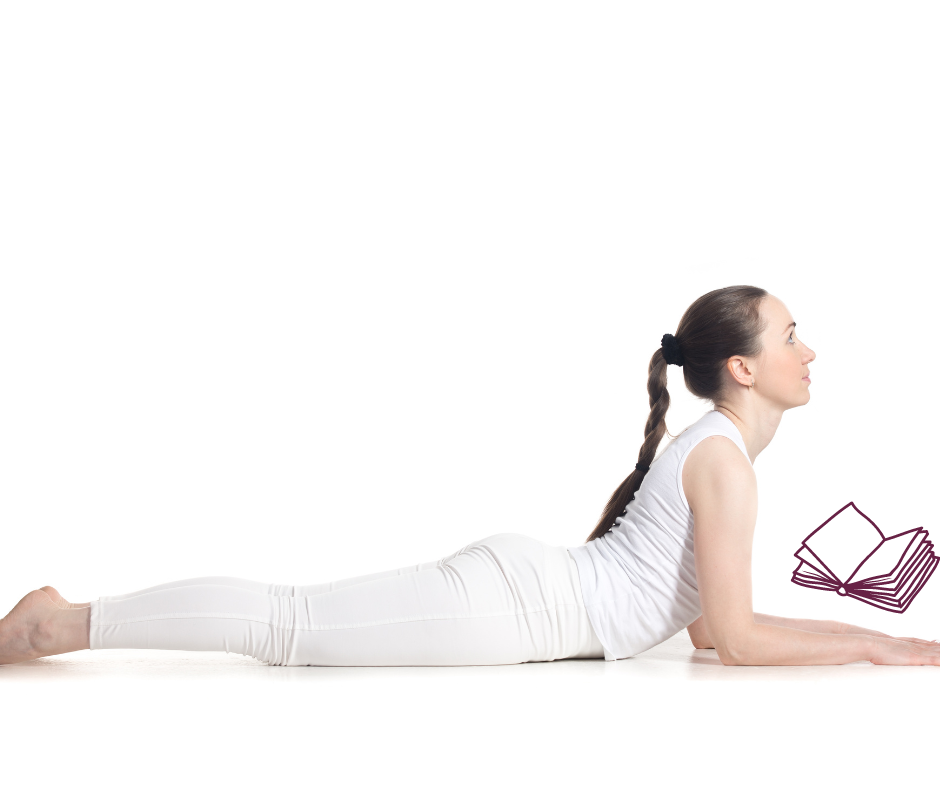
My favorite all-in-one active exercise in this case is Active Cobra.
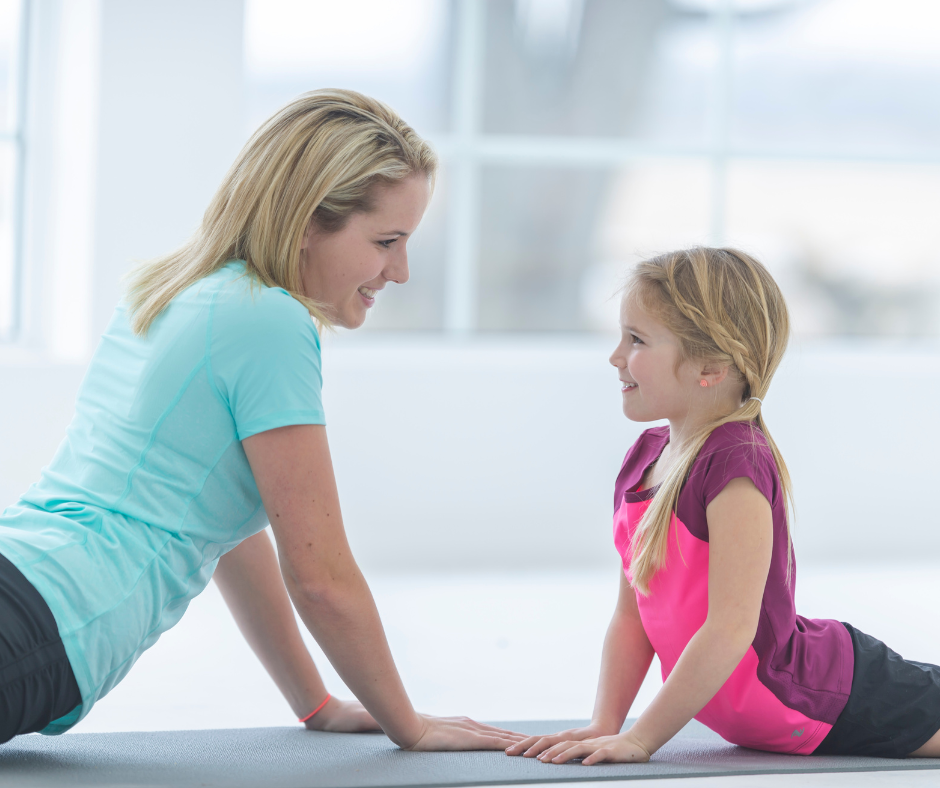
Active Cobra Creates extension in the upper back, active work externally rotating the the shoulders. On your belly, press yourself up into a cobra position with your elbows on the ground. Hands should be in golfers position, with thumbs up. Keep head neutral, sink between shoulder blades, actively pressing out with hands (but not going anywhere- like you are pressing against a wall. You will feel the work happening in the shoulder, while the head remains neutral. The final part is to frog the legs, bending the knees and pressing the feet together. This E-cise, (minus the neutral neck) is a full body extension E-cise! (Given that gravity is a constant pull into flexion, getting our muscles into extension is great for them AND our posture!)
Ways of adding this in to a routine, would be static back, then the active cobra, finishing with standing arm circles...
For KIDS- flexed over their computer devices, have them switched from

Be in the cobra position to read a book or play a video game. This dramatically reduces the negative posture. I like to read books on the beach this way.
For more information or to schedule an appointment: contact Rachel Dixon at rachel@theartofbeingwell.com